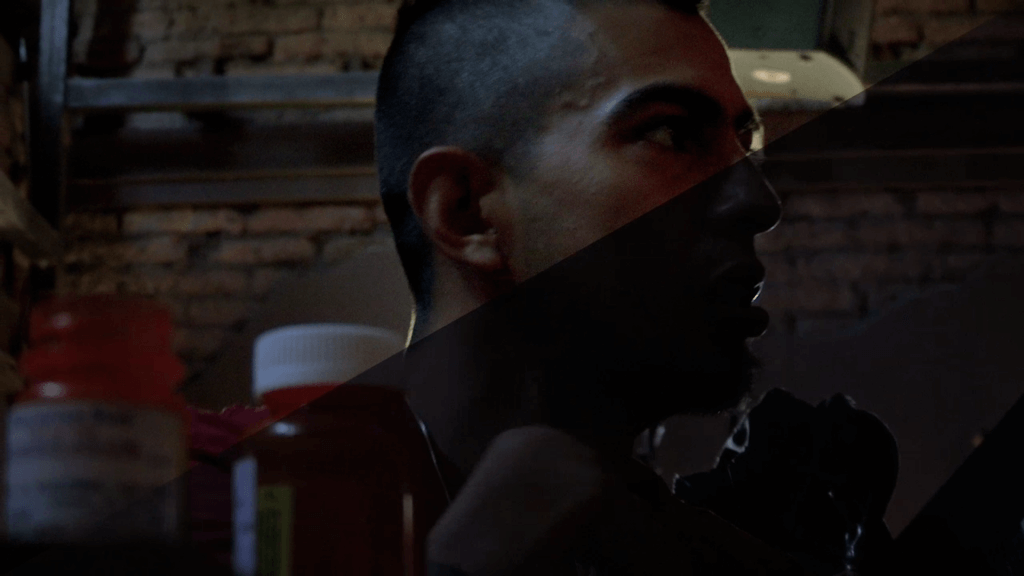
Color correction and grading for “Skunked” was wrapped up this weekend, thanks to Rob Bessette. This was the second time I was teaming up with Rob (previously we collaborated on “White Elephants”). We met up at Finish, Boston’s post-production house, and spent 3 hours reviewing, discussing, and adjusting the color work on the film. We started off watching the film together, from beginning to end, with Rob jotting down shot numbers as I called out shots I wanted to discuss. In total, we ended up iterating on about 12-15 shots for most of the afternoon.
[twocol_one]
[/twocol_one] [twocol_one_last]
[/twocol_one_last]
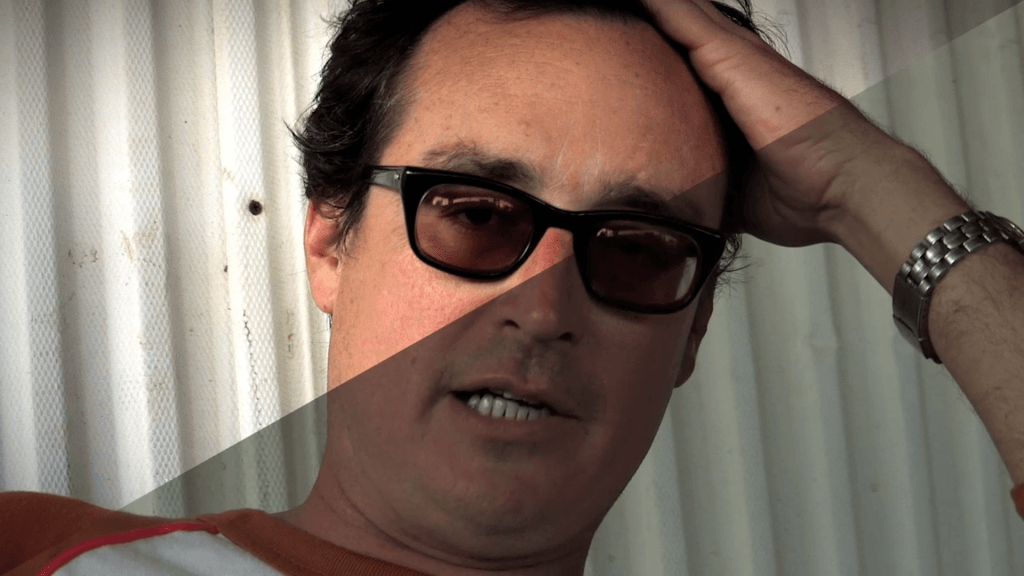
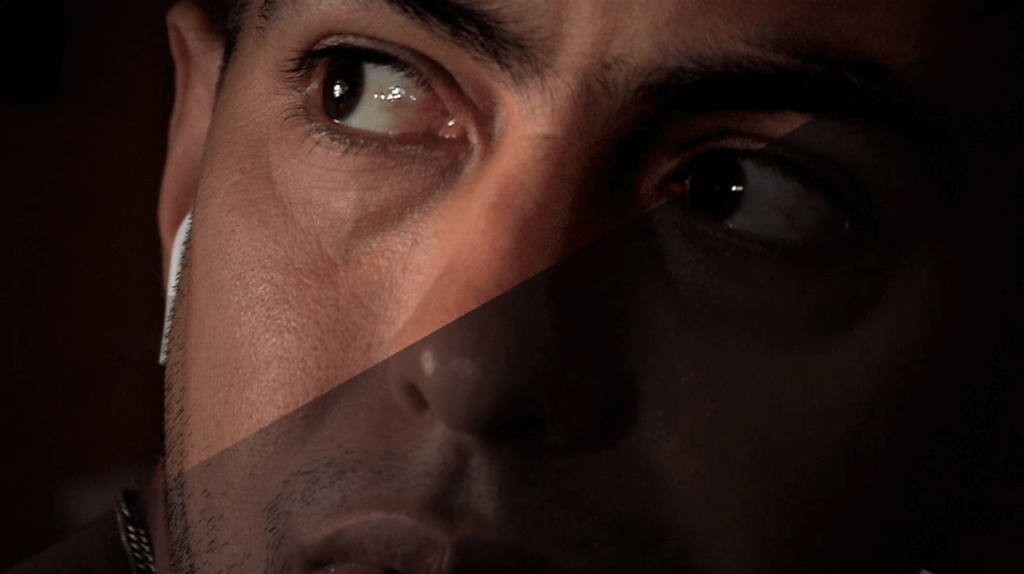
Rob had done an awesome job with his initial pass. I hadn’t asked for much grading or styling, except for managing focal points with vignettes. The focus of the job was on the correction work. In addition to white balance corrections, and adjusting shadow and highlight levels, the focus of the work was on matching shots and repairing a number of them. Since there had been 3 people taking turns shooting various scenes, there was variation across that needed to be fixed. One scene in particular, which had needed to be filmed unexpectedly, involved a number of underexposed shots which needed a lot of work.
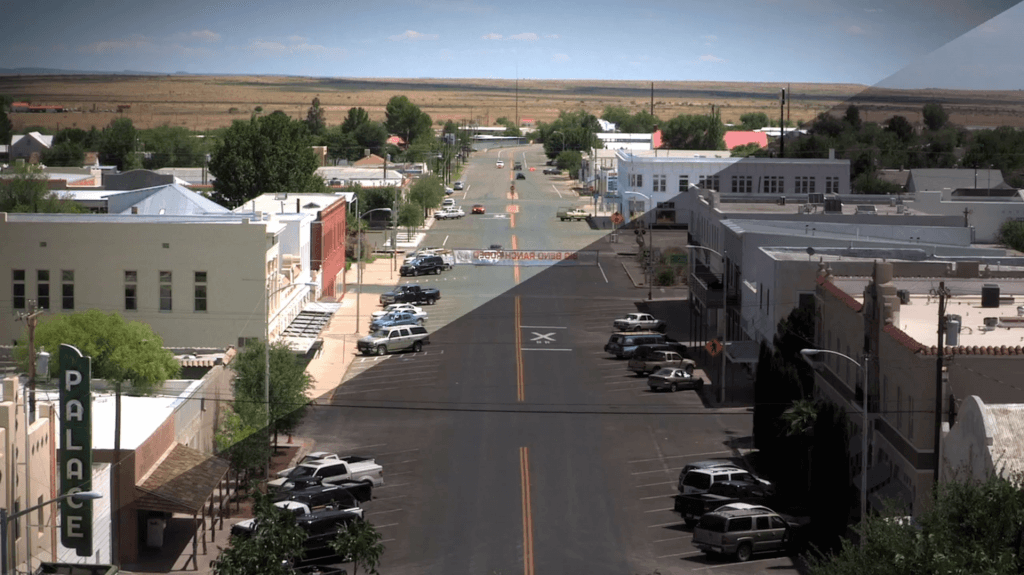
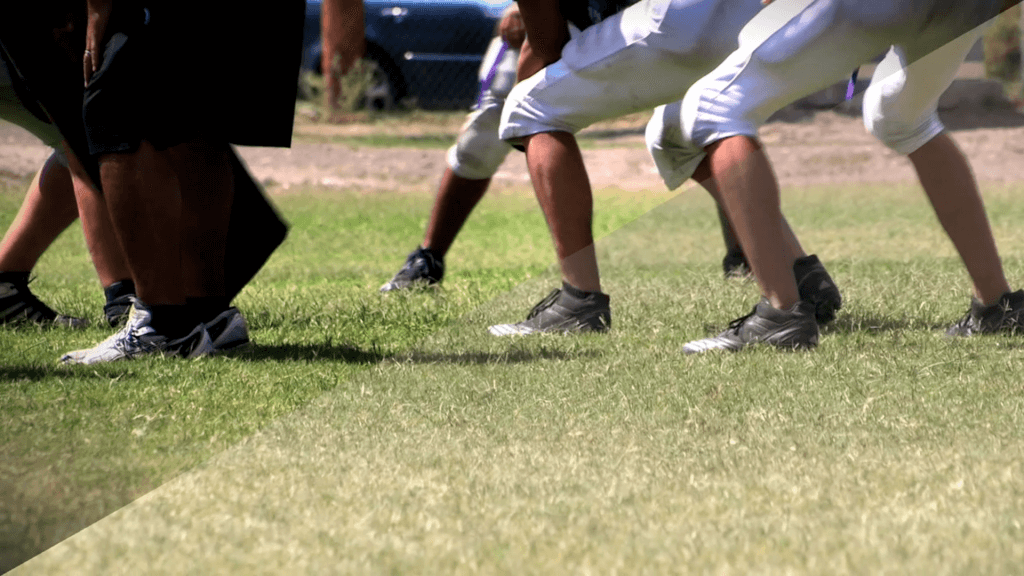
Rob was working on a new DaVinci Resolve package, from Blackmagic Design, using a Linux-based system. I’ve yet to jump over and try my hand at some color work using the free Da Vinci Resolve Lite package, so it was impressive seeing a real pro make his way through the complete, non-Lite package, complete with the $30,000 control surface. I had provided Rob an Apple ProRes 422 export, which he converted over to a DPX format and used Resolve’s Automatic Scene Detection to decompose the movie into its shots for grading.
[twocol_one]
[/twocol_one] [twocol_one_last]
[/twocol_one_last]
It’s amazing how much can be accomplished with these tools. On a couple of shots, Rob was able to use Resolve’s dust and dirt cleaning tools to remove a dead pixel from a series of frames in 2 shots. On a severely underexposed shot, Rob managed to pull enough detail out of it to make it not only visually tolerable, but have it preserve some consistency in the overall sequence. The most impressive move was when I asked Rob to whiten a portion of a cigarette package lying on the floor in the background of a shot. He was able to isolate it pretty deftly using what looked to be Resolve’s PowerCurve free form window with bezier curves. I think even Rob impressed himself with that one.
The final render and export out of Resolve looks great. I’m very excited to see it displayed on the big screen down in NY a little over a week from now. If you’ve got an independent project you’re looking to have color corrected and graded, I recommend you drop Rob Bessette a line. And if you’ve got a big budget production in need of some color work, check out the guys at Finish.
