Rule Boston Camera held another Pub Night with cinematographer Ron Risman of Cameratown and CinematicStories. The topic of the evening: Cinematic Timelapse Techniques. About half the attendees had experience shooting timelapses. There were a few sample videos Ron used to demonstrate different styles and techniques. Here are some of the highlights Ron covered. The most interesting trick involved disconnecting the lens to reduce flicker. Will try that one next time I try my hand at this…
Video vs. Stills
Although timelapses are usually done with photography stills, there are some advantages Ron considers video:
- Video is an easy way of preserving all the intermediate frames to your timelapse, while being able to ramp up the speed.
- On the other hand, you’re limited to HD video resolution since you don’t have higher resolution stills to pan and zoom in post
Photography stills on the other hand, offer more options:
- Long exposures to capture stars and motion blue
- Very high resolution stills (2k, 4K, pan and zoom)
- Long duration sequences – Can shoot overnight, for days, up to months
- Greater latitude in post production – Shoot in RAW, as it gives you a 2 stop latitude in post. Very useful for exterior shots where the sun might creep out and cause you to overexpose slightly
Plan Ahead!!
- When you’ve picked a spot, get to know it. Google Earth it to find spots to explore. Visit parking garages to find good vantage points to shoot from.
- Know when the sun/moon is going to rise/set, and where, so you know where shadows are going to fall
- On the ocean, know when high/low tide is. Otherwise you’ll find yourself having to move the camera
- Check the weather forecast the night before. It should determine when you are or aren’t going to shoot. For outdoor shots, you want it to be cloudy. Otherwise there won’t be movement in the sky. If it’s not cloudy, look for shadows or people moving.
- Get there early and stay late. You need pre-roll before sunrise occurs. If the sun is your subject, and sunrise is at 5:30am, light will break at about 5am, so you need to get there before that. And stay there at least 1-1.5 hours afterwards to capture colors and lights that can occur.
- Beware of due and high humidity fogging lenses. Anticipate condensation. There are ways to prevent this though.
- Get anti-fogging treatments (though consider applying it to a UV filter instead of your lens)
- Wrap hand warmers around the lens to keep the heat from escaping (you can put the warmer in a sock)
- You can also buy special gear like lens heaters
- Star Walk – Allows you to hold the phone up and determine the path of stars
- Weather Channel
- TideTrac – Shows you when you’re at high/low tide and when the sun will come out
- LightTrac – Shows you the sun’s travel path and time it’ll be passing by
Figuring Out Intervals
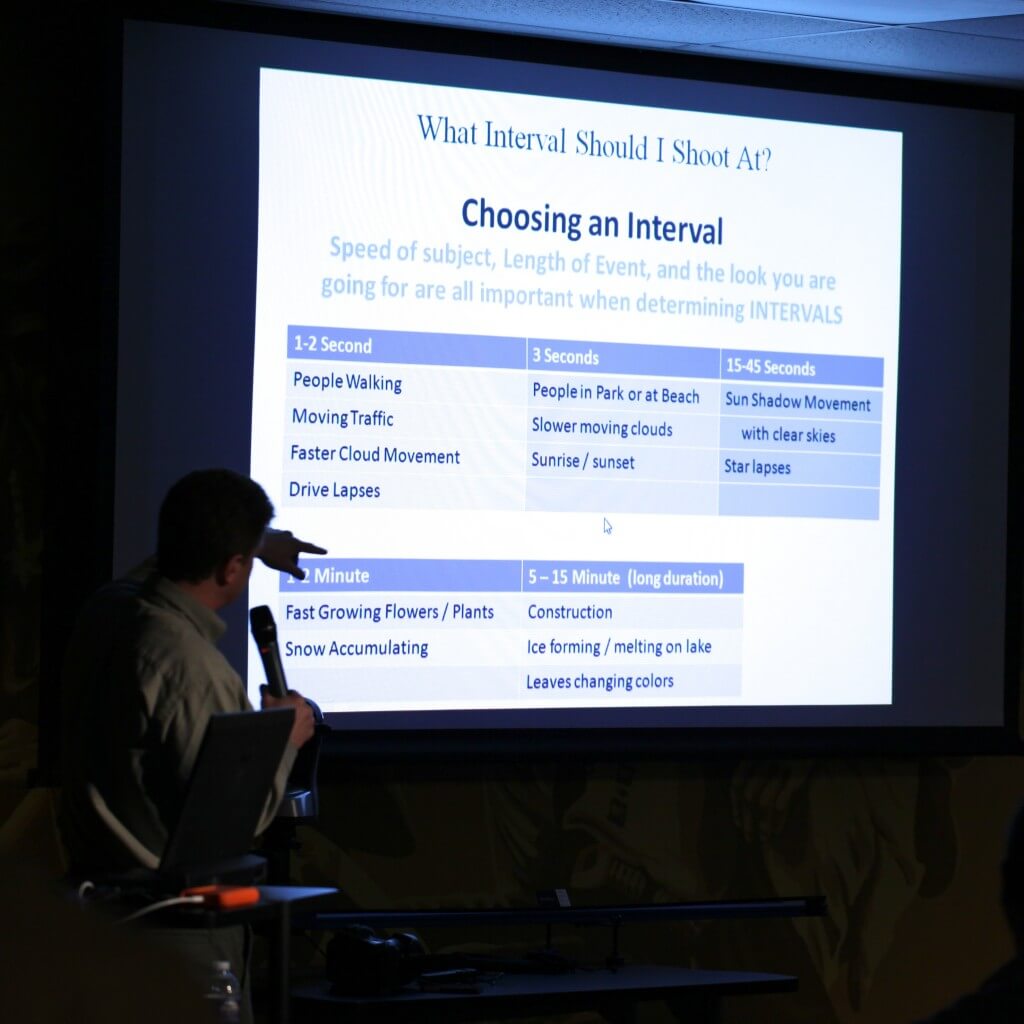
Interval is the amount of time the camera waits before taking the next picture. To determine this, here are some charts as a guideline:
[twocol_one] [/twocol_one] [twocol_one_last]
 [/twocol_one_last]
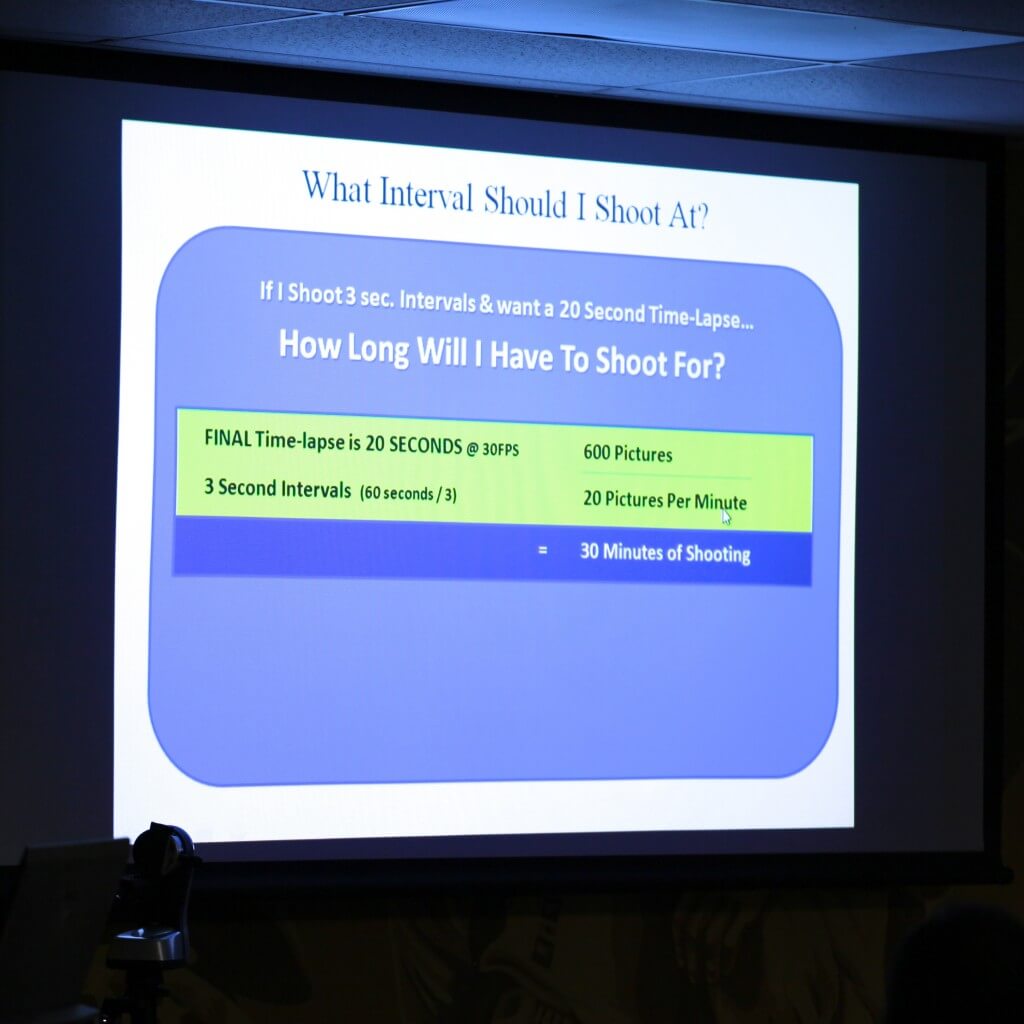
Be careful not to overshoot too excessively. Figure out how long of a timelapse you want, and how long the event you’re filming will be in order to estimate your interval. Capturing more frames than less is a good thing, as you can always speed it up or select the section you want in post.
As for 24fps vs. 30fps, Ron prefers 30fps for the smoothness it introduces.
Reducing Flicker
Shutter speed does not affect flicker, so long as you control the aperture. Here’s how…
- Shoot using a manual lens whenever possible *
- When shooting Av mode, open aperture as wide as possible
- Shoot with the camera in manual mode when possible
- Use the lens TWIST trick with auto lenses *
- Shoot longer exposures to help even out light
- Use an ND filter during the day to slow the shutter further without overexposing
* Note, there aren’t many true manual lenses around. What Canon sells today is not a manual lens. Manual lenses allow you to permanently set the aperture size. With automatic lens though, the aperture will open up in between shots, and then go back to the requested aperture when you shoot your next still. However, there’s fluctuations and tolerance errors when the aperture goes through this cycle, creating pulses of light contributing to flicker. In general, the smaller the aperture, the higher the flicker because the greater the travel distance the aperture will travel in between shots.
For Canon cameras, if you’re shooting with an automatic lens, after you set the desired aperture, press the button underneath the lens release. This will make the camera aperture shift to the current setting. While holding that button, twist and release the lens slightly in order to disconnect the contacts between the camera body and lens. This will force the lens to remain locked at the desired aperture! Careful handling the camera though so you don’t accidentally twist the lens off completely.
[iframe: src=”http://player.vimeo.com/video/39068078?title=0&portrait=0″ width=”970″ height=”545″ frameborder=”0″ webkitAllowFullScreen mozallowfullscreen allowFullScreen]
Post Production
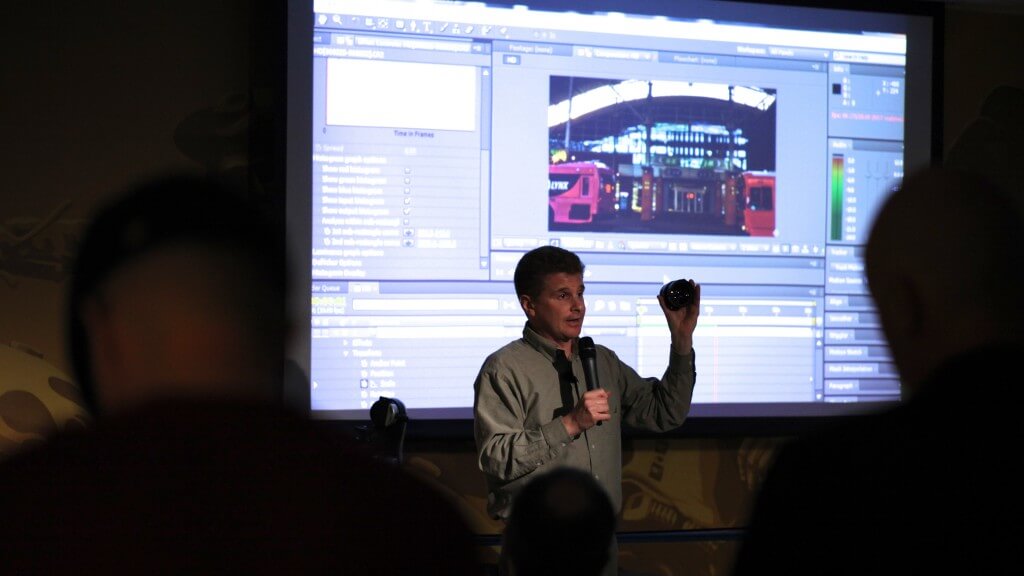
- After Effects is Ron’s program of choice for the ease of converting a folder of stills into a timelapse via drag & drop. This will bring up the RAW editor allowing you to adjust the first image, and then apply that image treatment to the whole batch. After that, you can create a new composition with HD settings, scaling the image to fit, and then panning and zooming.
- LRTimelapse – It offers integration for timelapse workflows with Lightroom, After Effects, and Adobe Camera RAW. The advantage is the ability to keyframe still shots where you wish to make adjustments, export to Lightroom to adjust the keyframed shots, and export back to LRTimelaps to auto-ramp the in-between shots to the keyframed adjustments!! Pretty sweet. It also allows you to preview the timelapse very easily by simply pointing it to a folder of stills.
- GBDeflicker – Useful plug-in to help reduce flicker. The downside is, if you’re using After Effects, you have to play the timelapse to get a basic histogram analysis performed before you can deflicker. However, After Effects takes a very long time to play the timelapse.
For more information, Ron recommends checking out the master of timelapses, Tom Lowe at Timescapes.org.


